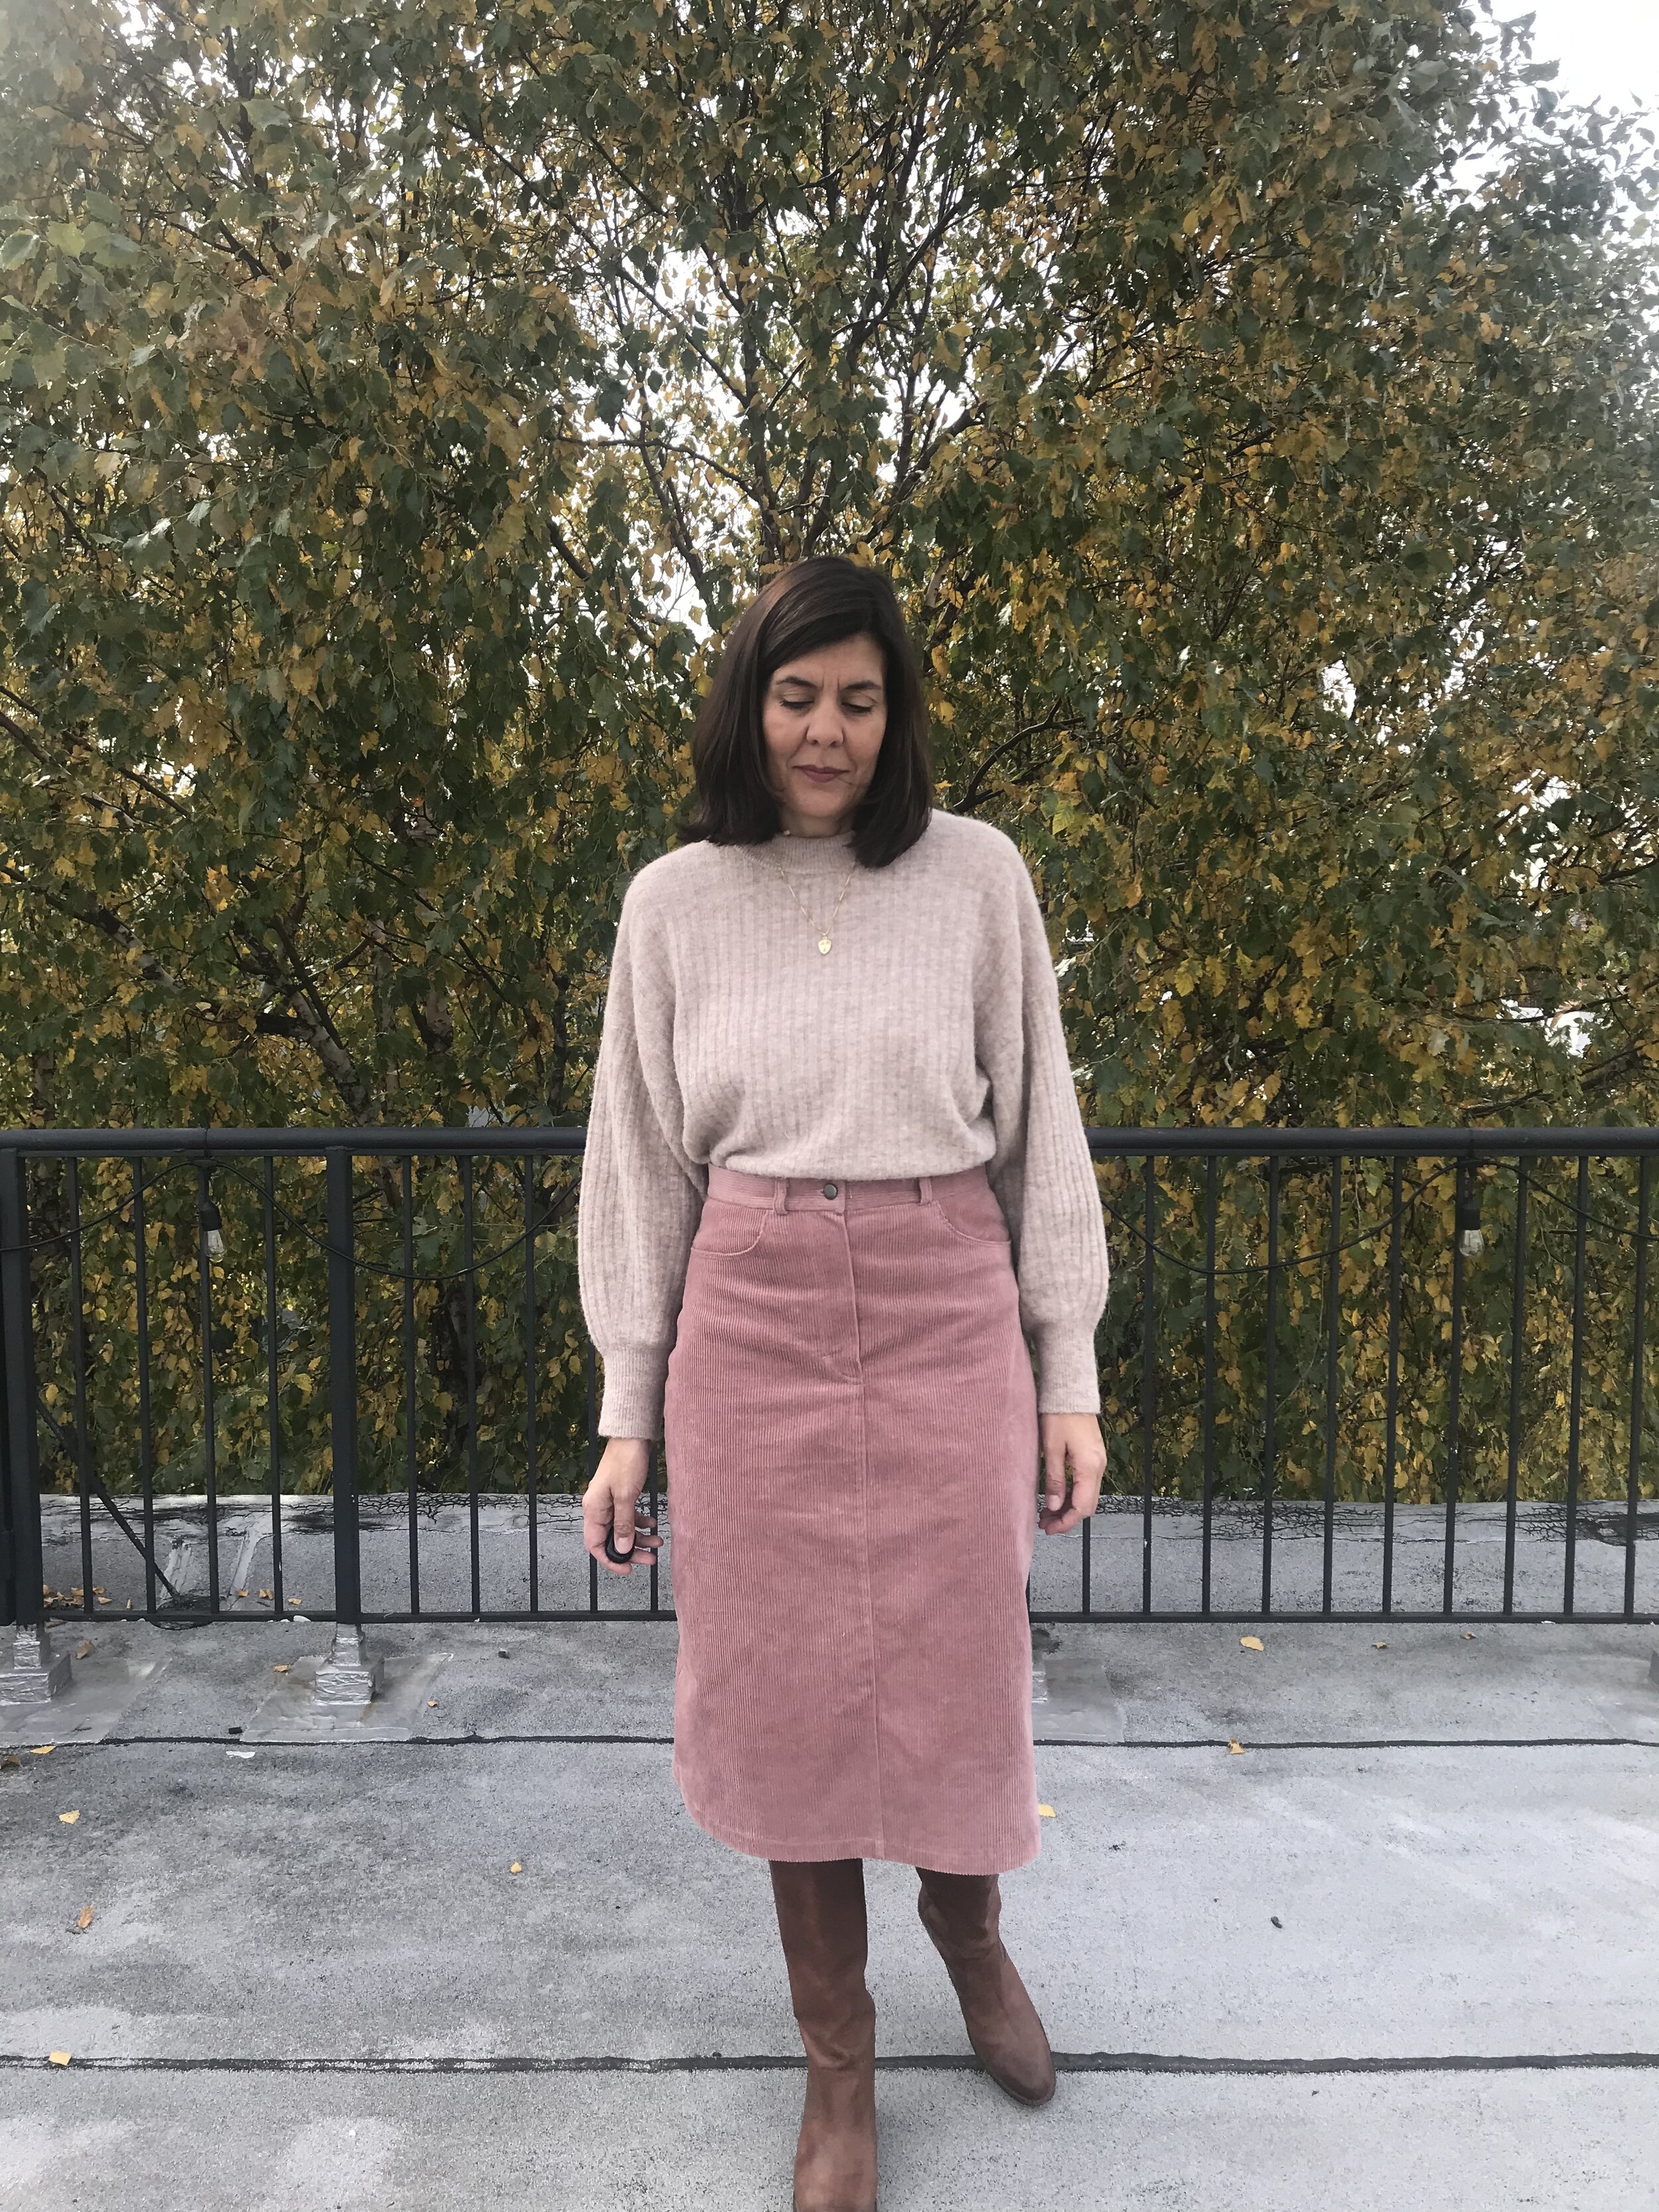
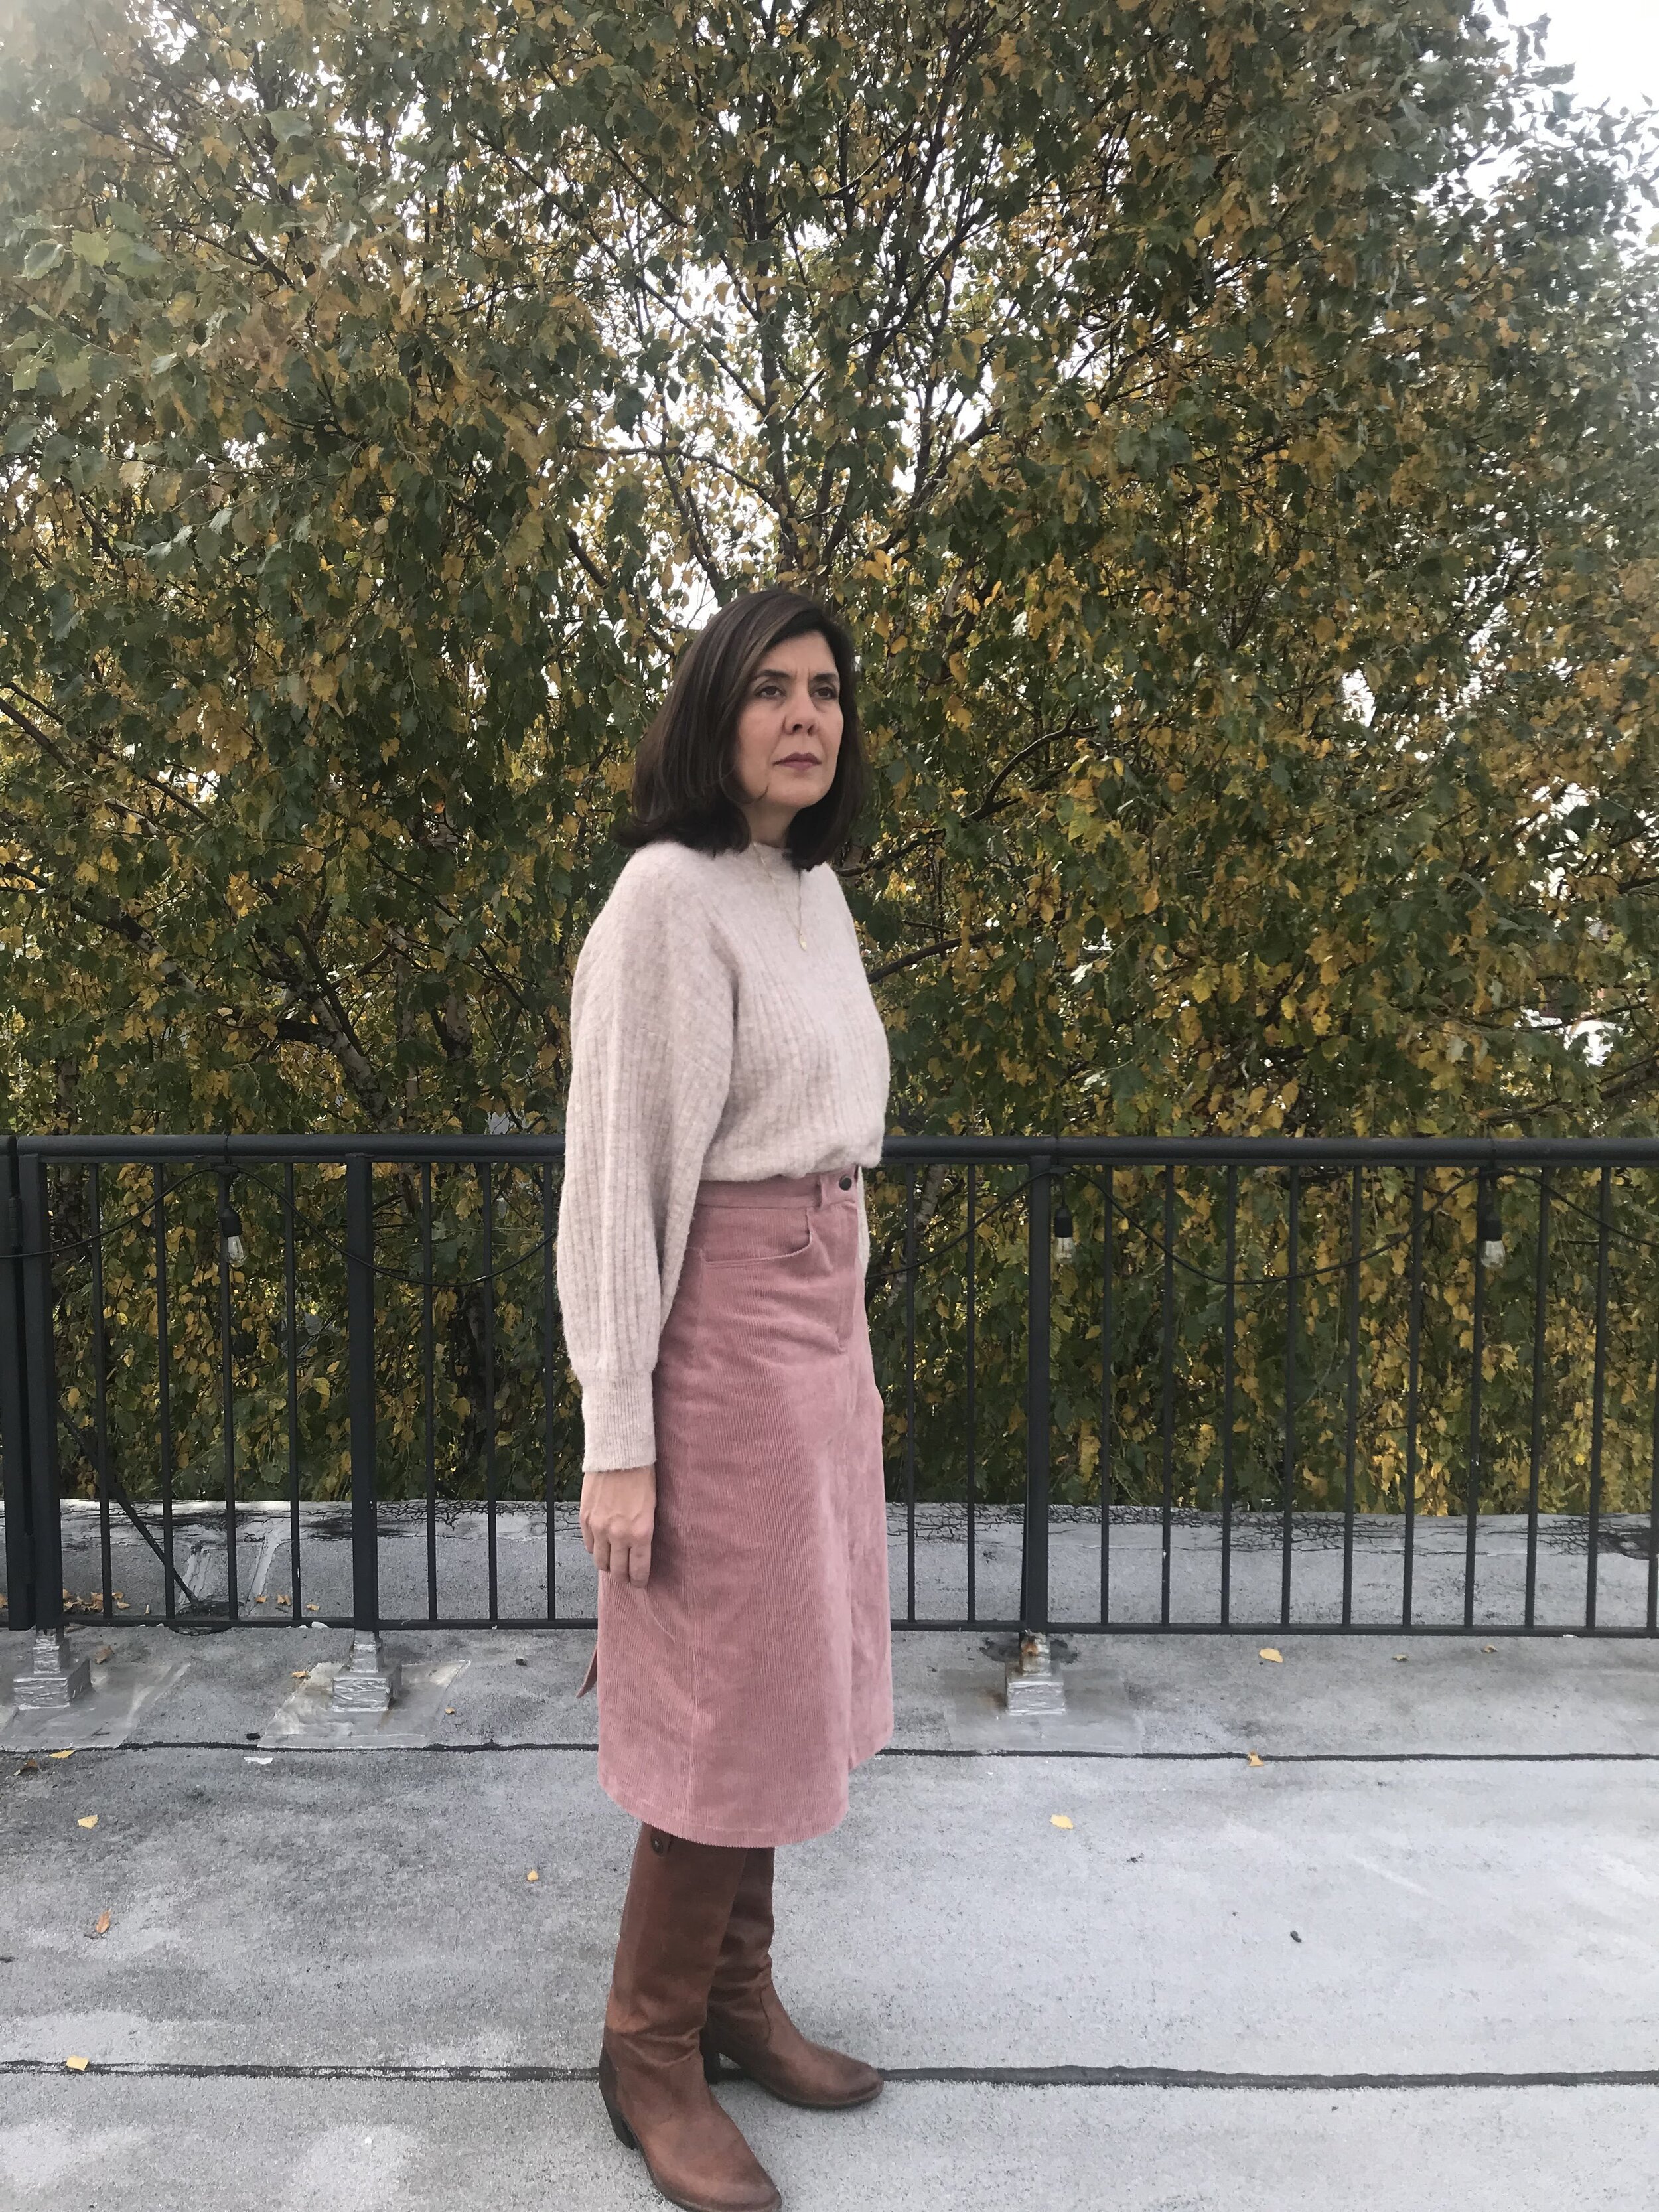
The Fibre Mood Anna Skirt
Writing honestly about patterns can be a bit of a minefield, particularly when writing about independent pattern designers. This is such a lovely supportive community, and the personalities within it that spend a lot of time and creativity and effort to bring us the patterns are loved and often friends.
However, with instructions, notches and basic pattern requirements that are less than ideal, I kind of feel that when someone is paying for a product it should be tested and reread and reread and reread to the point where as many kinks as possible have been straightened out, the product is easy to use and, subject to you knowing your fit quirks and the danger of general operator error (!), it should give you the desired end result.
In terms of my operator errors see further down!
When it comes to aesthetics, pattern details don’t bother me so much as I can change the bits I’m less keen on and I find ways of talking around that.
I generally don’t comment too much on the pattern in terms of its drafting etc, partly because I don’t feel qualified to do so and also because being the person I am I don’t want to cause offense.
With this preamble, I move onto this skirt, which is the Anna Skirt by Fibre Mood. Right up front I should tell you that I was given this pattern, with absolutely no expectation, other than perhaps ‘gramming about it. I really hope my thoughts on this don’t upset the lovely people at Fibre Mood and they are perhaps seen as constructive.
I love Fibre Mood’s aesthetic and I particularly like this pattern (although I refer to this post I wrote years ago about the appeal of an A-line skirt.) I have been wanting to make something like this for a while, and I have seen other options, and in fact have patterns already that are similar, but the details and shape, and back vent all really appealed to me, from a style and construction perspective.
And this pink jumbo cord from Blackbird Fabrics is just wonderful, the perfect width wale and the perfect soft pink. Where was this when I made these rather garish and unworn affairs?!
Fibre Mood, if you haven’t come across them, which I hadn’t until recently, are a very professional Belgian pattern making company. Their patterns have interesting design details. Their website is really comprehensive and I love that you can download instructions directly from there and that they give style advice for their patterns.
But getting down to the nitty gritty.
My first woe was that there are no seam allowances (SA) added to this pattern. I really have a problem with this. I don’t understand why pattern companies don’t add allowance for the home sewer. I get this isn’t necessary in commercial fashion design, but this is a totally different market.
Having drafted patterns myself it doesn’t take much extra time for the drafter, but is yet another thing to add to the prep process for the user, which if you’re anything like me can be a bit of a chore. To my eyes seam allowance is an intrinsic part of the home sewing pattern requirement.
I really appreciated it when Named listened to their customers and updated their patterns to include seam allowance. I would be very interested to know the rationale behind not adding SA as I may be wrong in my assumptions.
And the frustrating thing about this pattern is that it doesn’t make you aware of the lack of SA until you get to the end of the instructions. I don’t know about you, but I rarely read instructions fully before I embark on a project, so probably my fault, but surely these should be up front?!
So of course I cut out the fabric without adding seam allowance.
I managed to get away with it thanks to the fabric having stretch and by using quarter inch seam allowances. I also recut pieces like the waistband. But the pockets are tiny and may develop holes. I do have extra fabric so could have recut but that is earmarked for another project and it would have been such a waste to just ditch this.
My other gripe would be that chunks of the instructions seem to be missing. In that, in one instruction it will refer to something done previously that just wasn’t there. This happened in the construction of the fly which despite having sewn a bunch of them, I still need hand holding through.
That said, the instructions for the vent construction were really good and made it so easy, others I’ve sewn in the past have been really confusing for something that shouldn’t be that difficult to explain.
I didn’t love the waistband finishing as I prefer the inside seam allowance to be tucked under, but what they suggest in just serging the edge and stitching it down is certainly easier and my method is just personal preference.
Incidentally, I have written a very short summary of how I finish waistbands and cuffs etc to get a sharp corner. I’ve come to this method over a few years and while it is by no means foolproof or especially unique, I like it!
Things I liked very much were the extended size range - although it was difficult to determine which size line I should be following - but that is nothing compared to a Burda pattern!
And it may be a little thing, but I also really liked that rather than giving you a pattern piece for the belt loops the instructions give you measurements instead. I find this so refreshing. Those smaller pattern pieces always get lost and for many things such as straight waistbands that are simply rectangles, it is super helpful to know the dimensions in case of aforementioned misplacing (if you’ve seen the chaos I work in, this is a real problem) and also with fitting.
It also helps demystify some of the pattern drafting process as it reminds you that to some extent it’s all just shapes - see Rosie’s book!
There is also mention of coverstitch a few times - which I didn’t really understand. I don’t have one and couldn’t see the need for it here, but think that might just be a translation thing.
The construction of this isn’t my best work. I definitely need to do a sway back adjustment as the yoke bunches up, an alteration I generally avoid. When I recut the back pockets I didn’t pay attention to the nap of the cord and as such it runs in the opposite direction to the skirt and you can see the difference. And I can’t remember why this happened but the front is definitely longer than the back.
But hey, as my six year old says, “Mummy, there is no such thing as perfect.” I 100% assure him he’s correct, but inside I’m saying “… but yes there is, but yes there is …”
I don’t like to moan about stuff and this isn’t that, it’s just an honest review of a pattern I do really really like, but one that could do with a few edits in the instructions. I will definitely sew their patterns again. I have my eye on this and another one, but always feel it’s helpful to both the designer and the user to know exactly what’s what.
Oh and all this is to say - I love this skirt despite the journey to get here.
See you soon x


