A Blanca Flightsuit and Garment District recommendations
A couple of years ago I drafted and made this jumpsuit (not this ^ one!). It is still one of my favourite makes and I am pleased not only with the fit, but the design turning out as I envisaged. It was a little complicated - mainly because I was making up the construction as I went and the pattern has a whopping 24 pattern pieces. This is fine unless, if like me, cutting out is your least favourite part of sewing.
I keep dreaming about selling it as a pattern.
Then last year Closet Core Patterns released the Blanca Flight Suit and I was a bit miffed at first as they’re not that dissimilar and CCP had beaten me to the punch! Completely unnecessarily miffed, as the designs are very different and the chances of me getting round to releasing it are slim!
At this point I have made seven CCP patterns (my namesake Charlie Caftan, Nette Bodysuit, Ebony Tee and others that haven’t made it to the blog). I always enjoy the result and get a lot of wear out of the garments as they easily slide into my wardrobe.
The instructions are very thorough, although sometimes I do find there is a detail missing at a crucial point.
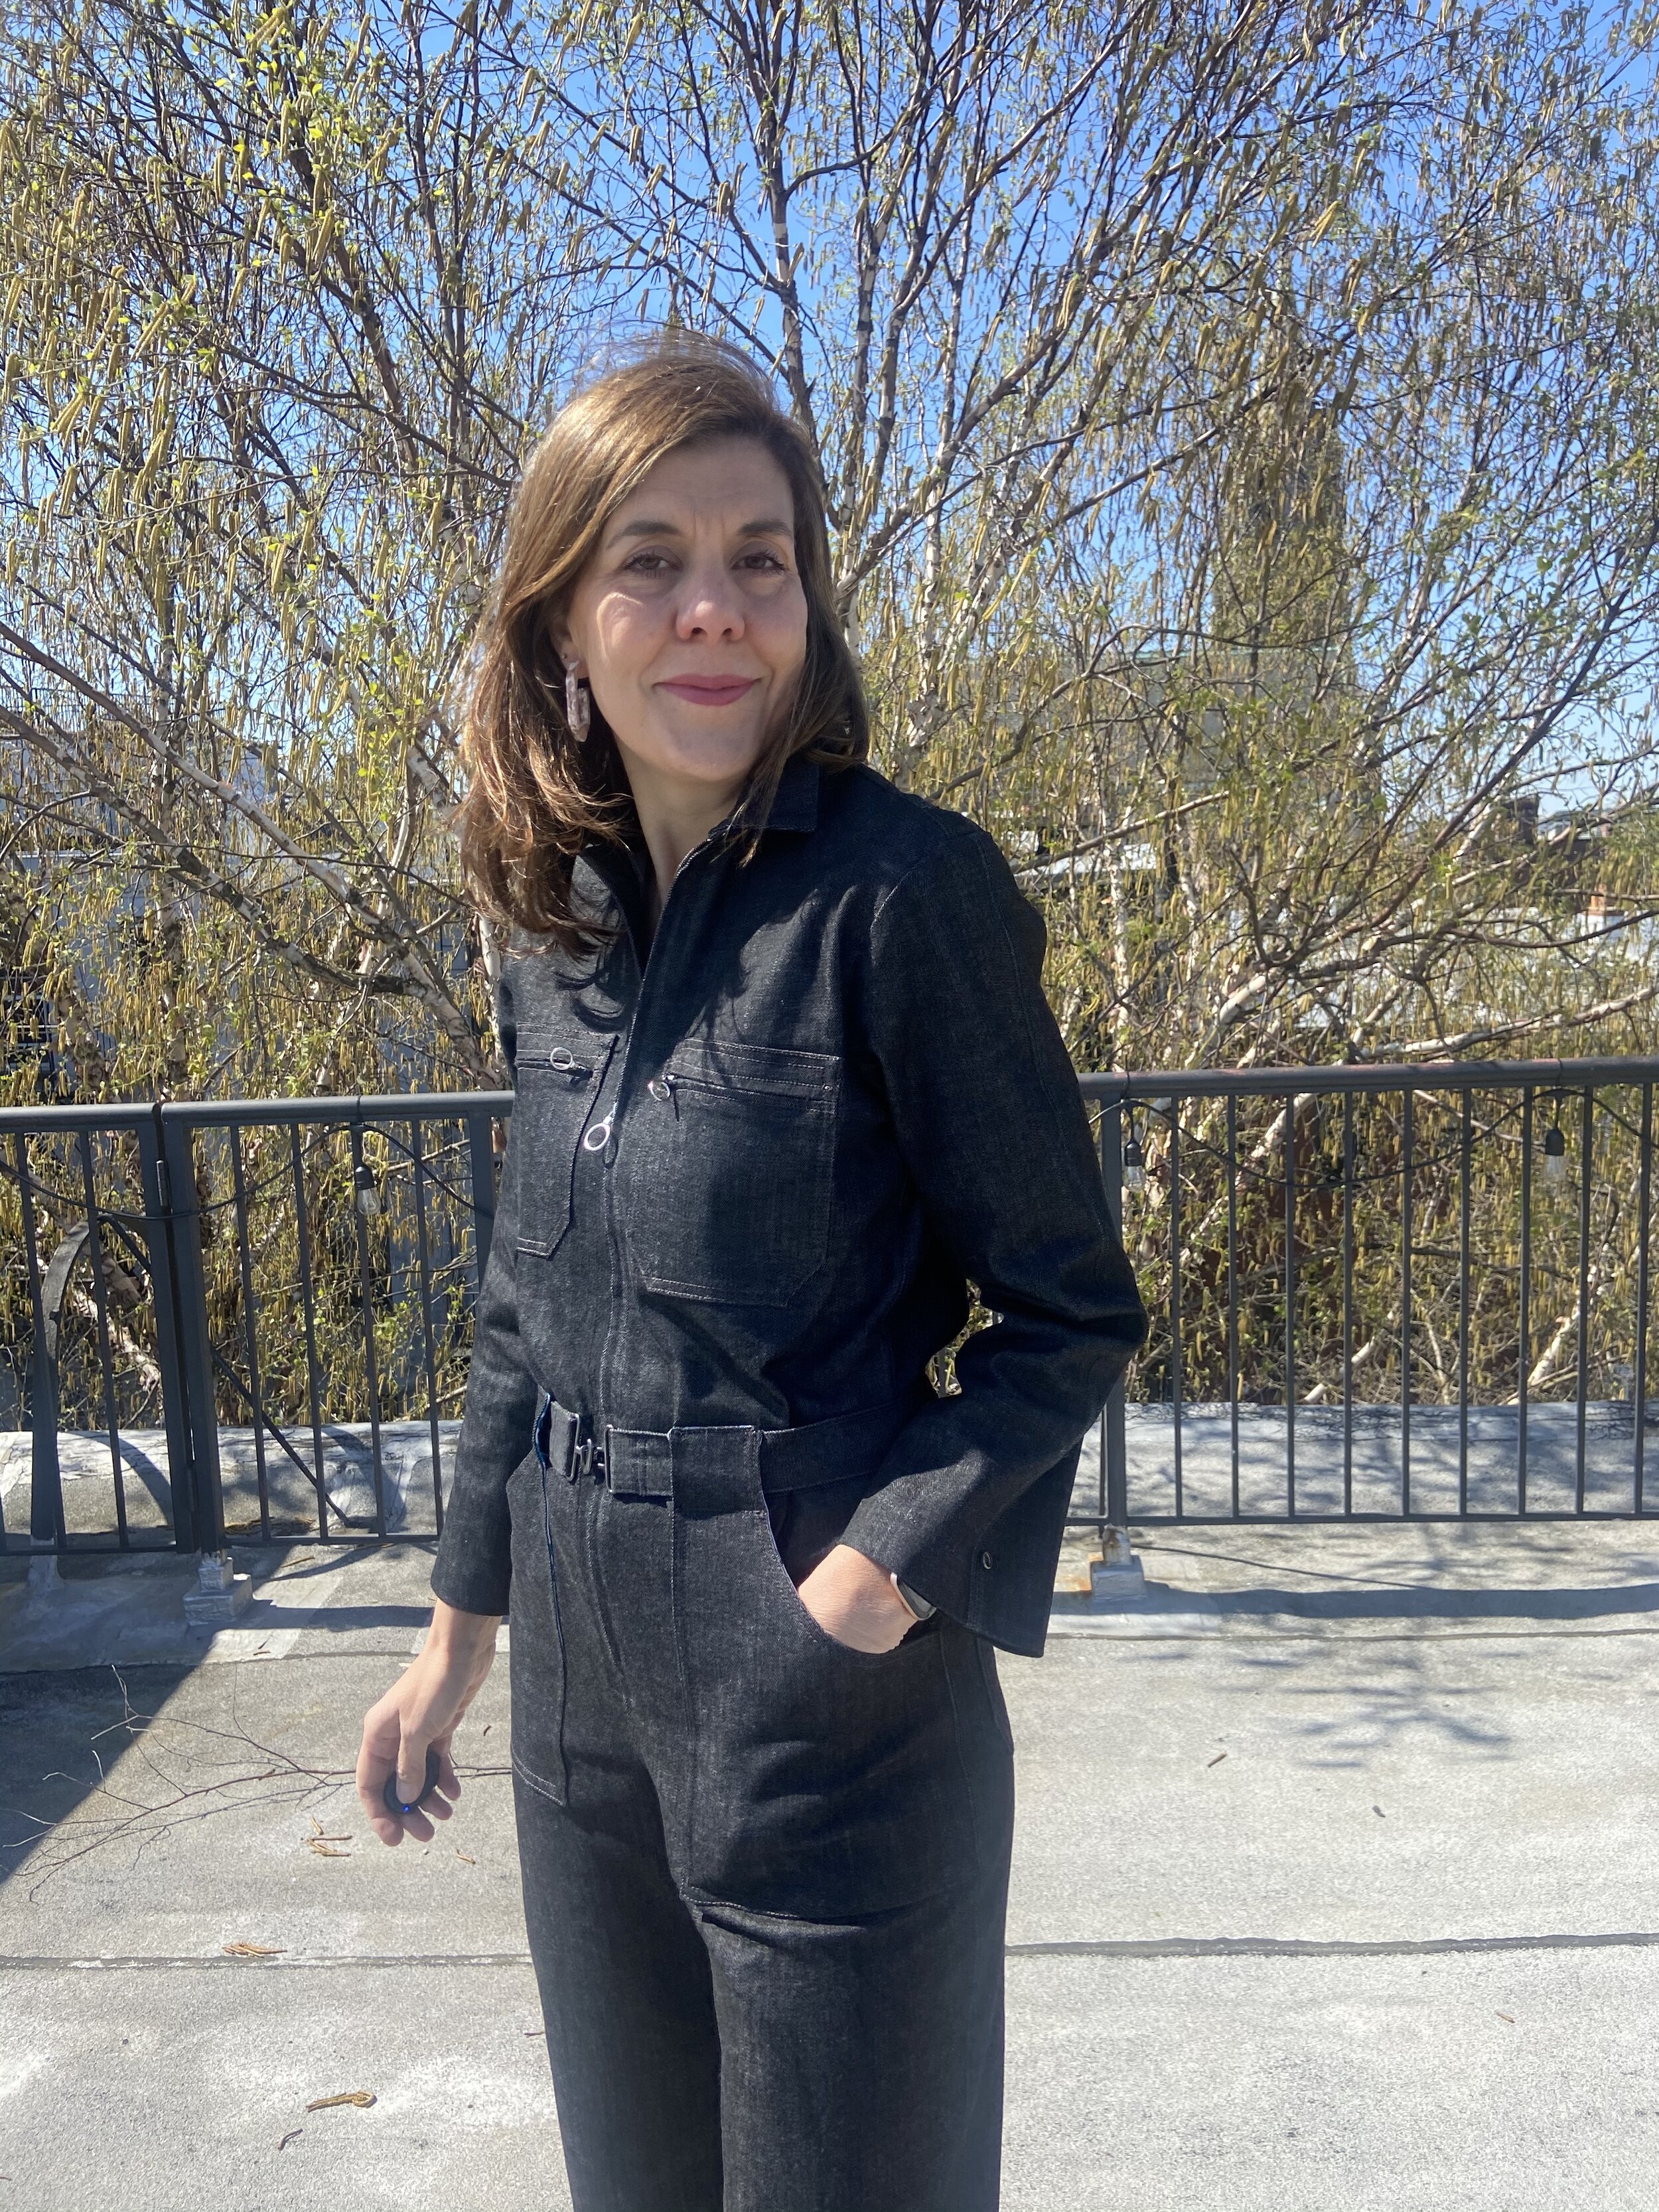
The design is wonderful. I love the pleat / pintuck on the back bodice, that not only makes it really comfortable to wear, but adds a kind of utilitarian feel to it and specifically fits with the ‘flight suit’ naming. I like that it is fitted at the waist. I find the straight up and down boiler suits less comfortable and I don’t like the aesthetic as much.
The front pocket / belt loop situation is such an interesting detail and I love the front zip and optional zippered pockets.
It takes a while to make and looks daunting but it isn’t challenging if you take your time.
I did come across a couple of things that didn’t go so well, that are partly me and partly the pattern:
Drafting thoughts:
When drafting an under collar or pocket lining, it is usually drafted about an 1/8 - 1/4 inch smaller than the main fabric piece. This prevents the lining from being seen from the outside, as the smaller piece naturally pulls the seam line to the inside making the lining not visible. I think here, if the lining pattern piece was a fraction smaller it would be great. This is such a minor detail but you can see my lining here . That said it wasn’t wise to make what is essentially a patch pocket on a black jumpsuit with a white lining.
I am not entirely sure about the pooling at the back waist. That is part of the design - it is supposed to be looser, and it certainly makes it comfortable and is countered by the belt, but it looks a little bunchy. I perhaps should have taken it in a little and I think I really need to start sway back adjustments as it is likely that.
I think that a slightly shorter zip should be recommended for the zip pockets. Mine are the 5 inch indicated but are too long and it made the construction awkward. I got away with it and am glad I persisted with them and the loop pull.
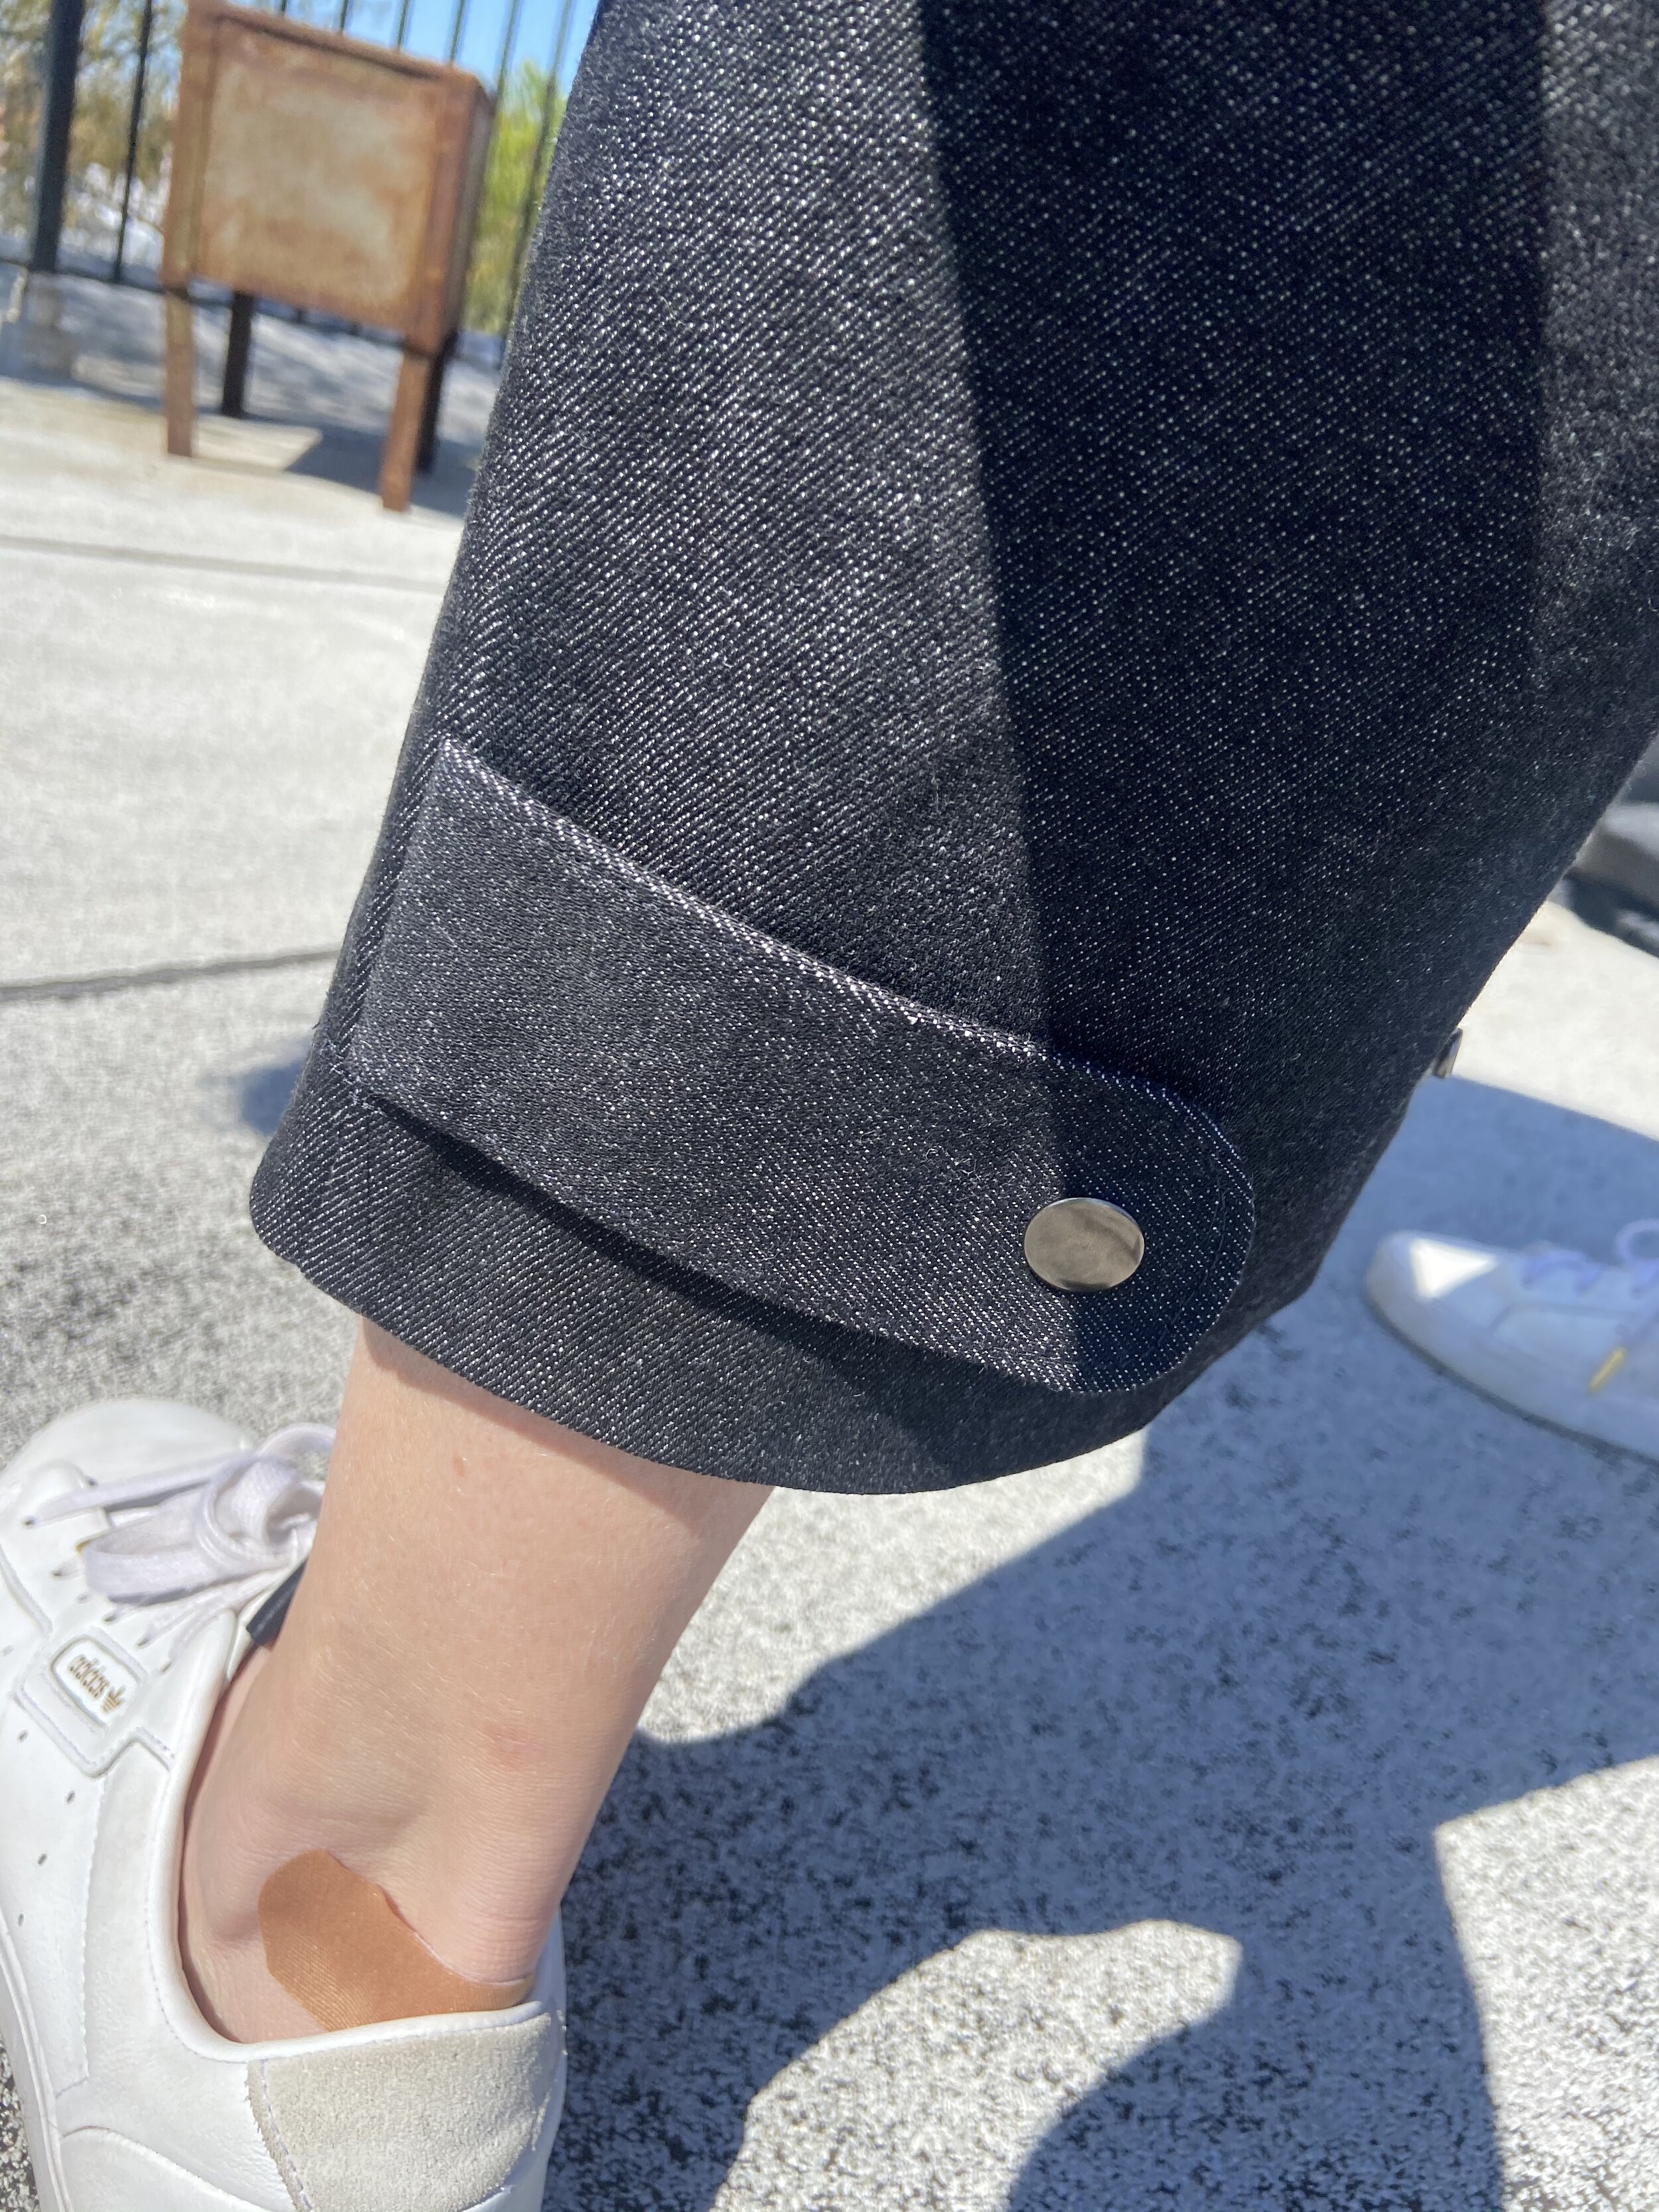
With tapered leg.
Adjustments:
I did make a muslin, but in the end I made surprisingly few adjustments.
I graded from a 10-14 waist to hip but then ended up taking it in at the hips again so could have probably cut a straight 10 or 10/12.
Given that this is drafted for someone way shorter than me, I was surprised that I didn’t need to add to the leg length - but no complaints!
I added an inch to the bodice length, which was just the right amount and thankfully remembered to get a zipper that was an inch longer than that required by the pattern.
I made a half inch forward shoulder adjustment but forgot to move the sleeve cap forward. I don’t often do that as it doesn’t really affect the fit, but here it means the shoulder seam and the sleeve seam don’t align at the sleeve head and really I should do it on every pattern.
Self-made annoyances:
I ran out of topstitching thread pretty early on and didn’t want to wait until I could get some more, so just continued with regular thread. It’s not really noticeable but I know it’s there.
I really wanted the zip pulls to be the same colour as the belt buckle and snaps but just couldn’t get them.
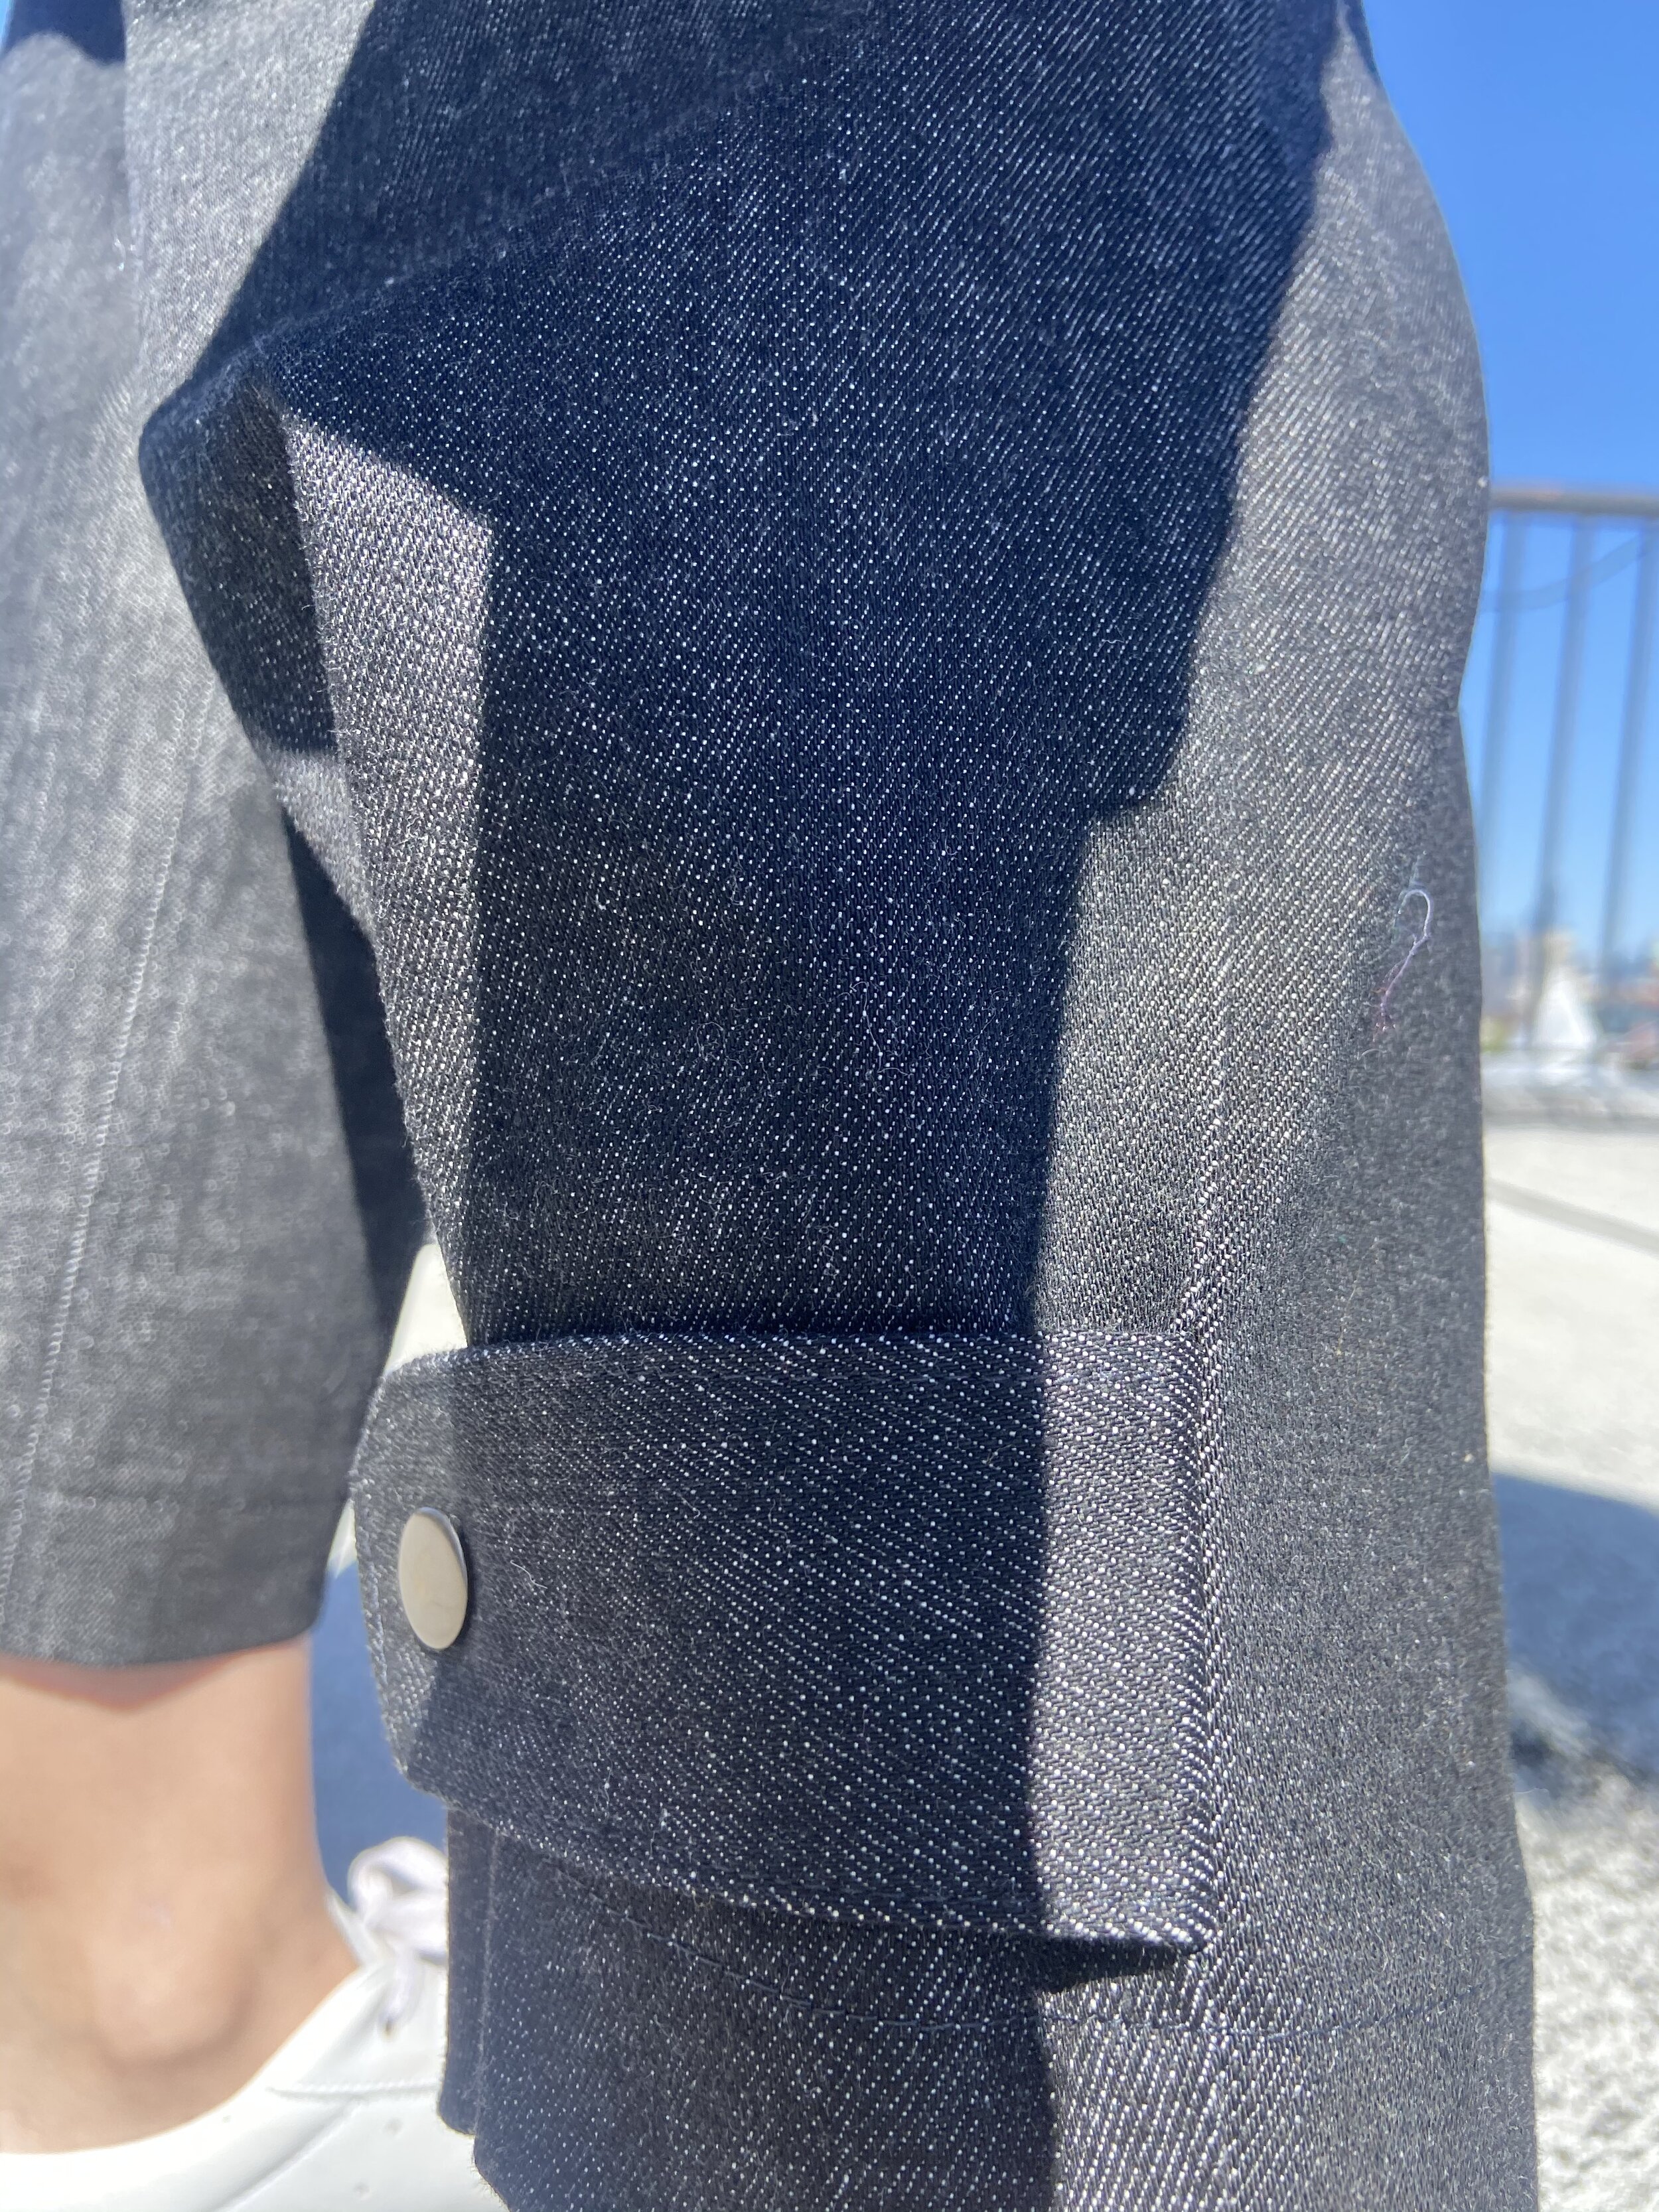
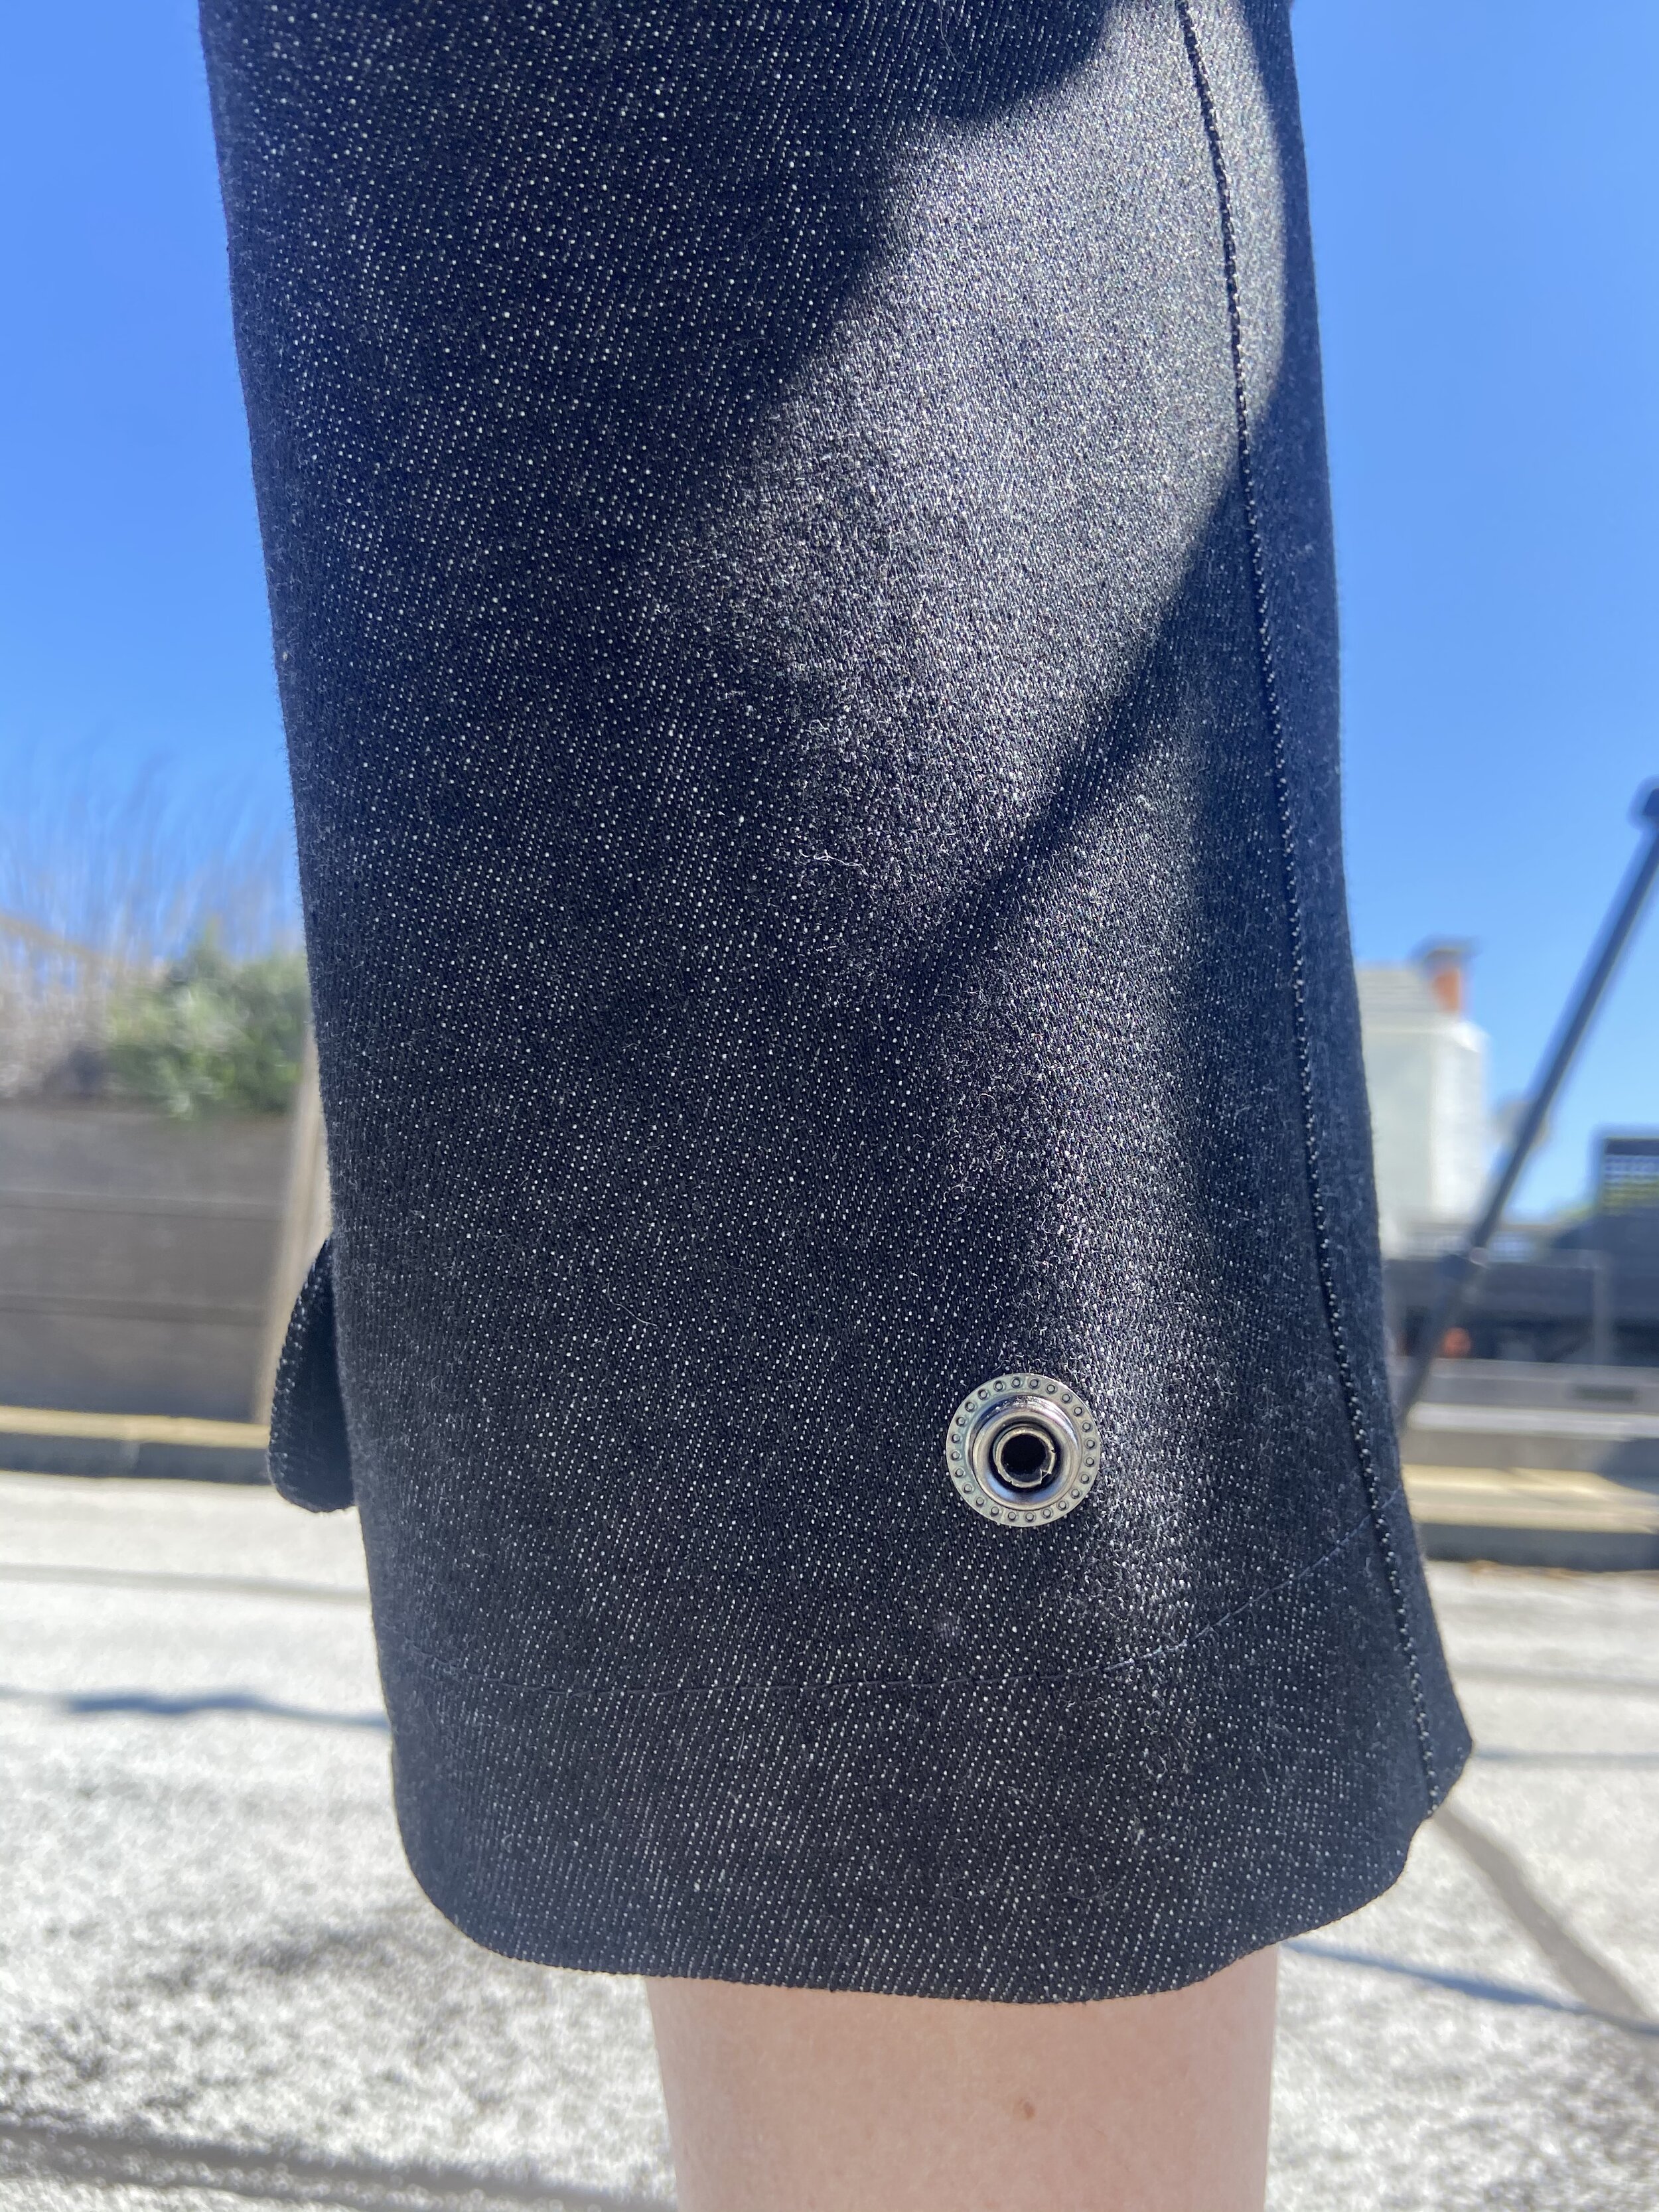
Inserting the snaps was a major PITA. The instructions on the kit I have are rubbish and don’t really apply to the type of snap I used. The ones on the pant hem just work although I won’t undo them more than necessary. The sleeve ones I just can’t get to do up!
One of the main things I really like about this pattern is the tapered leg (and sleeve) option. It’s just a bit different and I’m increasingly liking a tapered leg - options are always a winner - and the tabs look cool. It’s details like that that really set patterns apart.
I also adore the belt buckle. I’m so lucky to live just a 30 minute subway ride from the Garment District. You can find practically any notion you need there which I know isn’t the case for sewers in other parts of the world where sourcing a buckle like this isn’t easy. (Although CCP do sell buckle kits on their website.)
Somebody recently asked me if I’d do a review of the places I like to shop in the Garment District. I know that Martha of Buried Diamond has recently written three posts that cover this in great detail, which is a better resource than I could probably do. That said, briefly, below are some of the places that I usually visit.
Garment District resources
I prefer to shop in the smaller trimming places, but invariably I get a lot of stuff from Pacific Trimming as the inventory is so vast. I don’t love it as it is more expensive than other places and the manager is so rude and not nice to his staff. I can, however, mostly guarantee I can get what I want there. I’m pretty sure Pacific ship internationally, but postage from the US is insanely expensive so probably not worth it.
SIL Thread is my go to for all tools, invisible and standard sized zips (1$ per zip), interfacing, muslin and serger thread. They will make you huge reels of whatever thread colour you want. I love it, it’s very shabby; chipped concrete walls, exposed HVAC, horrible strip lighting and crappy, uneven part concrete, part lino floor. Genuinely attractively dilapidated, not echoing hipster coffee shop. I don’t know for sure but it seems it’s an Asian-owned family business which in these times make me feel even more compelled to shop there.
When I’m not buying online, which seems to be my standard these days, Chic Fabric is most often my fabric store of choice. They always seem to have exactly what I need. Silk velvet in just the colour I wanted for $15 a yard, was a particularly great score. The gentlemen who run it are charming and so helpful. I do shop at Mood as well but try to support the smaller places.
This fabric is Japanese denim from Blackbird Fabrics and I’m hoping it will fade to a more of a charcoal. Even though they’re probably not as wearable as other fabrics, I love a denim jumpsuit. And looking at the other jumpsuits I made, I’m glad this one isn’t navy!
My brain isn’t in a place for levity and side-rambles today, so this is a pretty dull post, but I wanted to share this as it will soon be too hot to wear it. Well, hopefully. The spring weather so far has been weirdly cold.
I also really wanted to take photos with the neon sneakers I’m desperate to buy but couldn’t wait. They would look amazing with this!
I have plans to make another more summery version with shorts and no sleeves. I’ll extend the shoulder seam out a bit and perhaps leave the armholes unfinished, inspired by Sophie’s insanely good Leah Jumpsuit.
(Incidentally I’m desperate for Sophie to start posting again. I know her life doesn’t allow much time for sewing but she is such an amazing talent with incredible style and humour and I miss her IG presence.)
So there’s that! Hope this was useful, if a little boring.
See you soon x


The design is wonderful. I love the pleat / pintuck on the back bodice, that not only makes it really comfortable to wear, but adds a kind of utilitarian feel to it and specifically fits with the ‘flight suit’ naming.